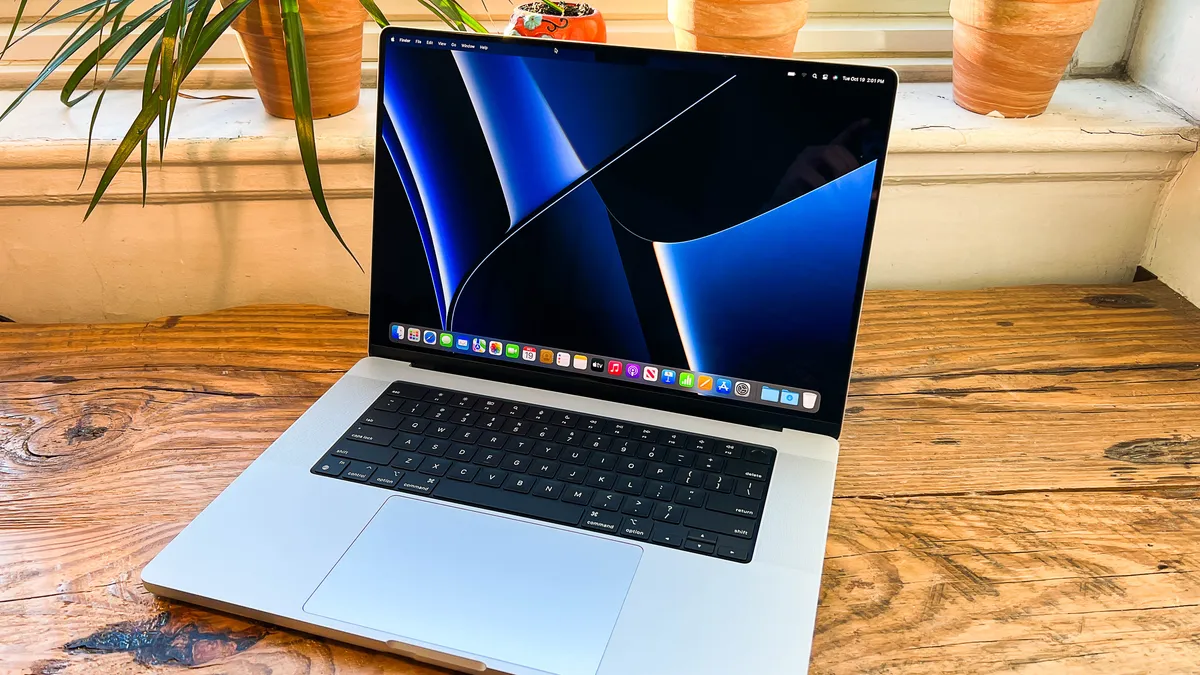
How to Take a Screenshot on Mac is something many people want to know, especially if they are new to Apple computers. A screenshot is like a photo of whatever is on your screen. It is very helpful when you want to show something to a friend, share a problem with tech support, or save a moment from a video or website. On a Mac, there are many ways to take a screenshot, and each way has its own shortcut. You can capture your whole screen, just one window, or only a small part of the screen. The best part is, you do not need to install any special app because your Mac already has these tools built in. Once you know the shortcuts, you can take screenshots quickly and easily.
Learning How to Take a Screenshot on Mac is also useful for work, school, and fun. Imagine you are working on a project and want to save some notes from a website – a screenshot will keep them safe. Or maybe you found a funny moment in a video – you can capture it to share later. Taking screenshots can also help you remember important information without writing it down. On a Mac, you can even choose where the screenshot is saved, so it is easy to find later. Some tools let you edit your screenshot right away, so you can draw arrows, highlight text, or add notes. By the end of this guide, you will know all the tricks to take screenshots on your Mac like a pro, even if you have never done it before.
Why Screenshots Are Handy on a Mac
Screenshots are like magic snapshots of your screen. They help you save, share, or remember things without copying and pasting text. For example, if you are in a video call and someone shares important details, a quick screenshot keeps it safe. If you are troubleshooting a problem, sending a screenshot to tech support can help them understand the issue faster. They are also perfect for saving receipts, funny moments, or design ideas. On a Mac, screenshot tools are built-in, so you do not need any extra downloads.
Different Ways to Take a Screenshot on Mac
There isn’t just one way to take a screenshot on a Mac – there are many. You can use keyboard shortcuts, the screenshot toolbar, or even special apps like Preview. Each method is useful in different situations. Shortcuts are the fastest way, while the toolbar gives you extra options like recording your screen. It is good to learn all the methods so you can choose the right one whenever you need it.
How to Take a Screenshot of the Whole Screen on Mac
If you want to capture everything you see on your Mac’s screen, use this shortcut:
- Press Command (⌘) + Shift + 3
Once you press these keys, your Mac takes a picture of the whole screen. You will hear a camera click sound (if your sound is on), and the screenshot will appear in the bottom-right corner of your screen. You can click it to edit right away, or let it save to your desktop automatically.
How to Capture Just One Window on Mac
Sometimes you only want to capture one app or window instead of the whole screen. Here’s how:
- Press Command (⌘) + Shift + 4, then press Spacebar
Your cursor will change into a camera icon. Move it over the window you want to capture, then click. This is perfect for keeping your screenshot clean without showing extra things in the background.
How to Take a Screenshot of a Selected Area on Mac
If you only want a specific part of your screen, use this shortcut:
- Press Command (⌘) + Shift + 4
Your cursor turns into a crosshair. Click and drag to select the area you want. Release the mouse to take the shot. This is great for sharing only the important part without extra details.
How to Use the Screenshot Toolbar on Mac
The screenshot toolbar is a built-in tool that gives you more options.
- Press Command (⌘) + Shift + 5
You will see a small toolbar with options to capture the full screen, a window, or a selected area. You can also record your screen here. The toolbar lets you choose where to save your screenshot, set a timer, and more.
Changing Where Your Screenshots Are Saved on Mac
By default, your screenshots are saved to the desktop. But you can change this to make them easier to find later. When you open the screenshot toolbar, click Options, and under “Save to,” pick a folder you like. You can choose Desktop, Documents, Clipboard, or even create a special “Screenshots” folder.
| Read More: Hoshizaki Ice Machine |
Editing and Marking Up Screenshots on Mac
After you take a screenshot, a small preview appears in the bottom-right corner of your screen. Click it, and you can use Markup tools to draw, highlight, add text, or crop the image. This is perfect for making your screenshot clearer, especially if you are sharing it with someone else.
Using Preview App for Screenshots on Mac
The Preview app on Mac is not just for looking at images – it can also take screenshots. Open Preview, click File > Take Screenshot, and choose from the options. This is useful if you are already working inside Preview and want to grab an image without using keyboard shortcuts.
Troubleshooting: When Screenshot Shortcuts Don’t Work on Mac
If your shortcuts are not working, it might be because they are turned off in settings. Go to System Settings > Keyboard > Keyboard Shortcuts, and check if the screenshot options are enabled. Sometimes restarting your Mac also fixes the problem.
Conclusion
Taking a screenshot on a Mac is easy once you know the right steps. Whether you are using quick shortcuts, the screenshot toolbar, or the Preview app, you can capture exactly what you need in seconds. Screenshots can make work, school, and personal tasks much simpler. The more you practice, the faster you will get at it – soon it will feel as easy as taking a photo on your phone.
FAQs
Q1: Where are my screenshots saved on a Mac?
By default, they are saved on your desktop, but you can change this in the screenshot toolbar’s options.
Q2: Can I take a screenshot on Mac without the keyboard?
Yes. You can use the screenshot toolbar (Command + Shift + 5) and click the capture buttons with your mouse.
Q3: How do I copy a screenshot to the clipboard?
Hold down Control along with the screenshot shortcut (like Control + Command + Shift + 3) to copy it. Then paste it into any app.